
Guides
Introduction
The guides hub is your single entry point for the entire Mine a Planet progression curve. It collects beginner walkthroughs, smelter optimization tips, reforge strategies, and rebirth timing advice — each guide is written to solve a specific bottleneck miners hit while climbing from Earth to Nebula. Pick the guide that matches your current Drill Tier and grind session length. Every guide assumes a specific progression stage and recommends the next drill tier, smelt recipe, and Rebirth step that fits your current grind session. The hub is organized by stage rather than by feature so a new miner can follow the guides in order without skipping any bottleneck. The guides hub also includes a Recommended Next Steps block at the end of every page so you always know which guide to read after finishing the current one. Use the start-here flow on the home page to pick your first guide and follow the chain from there.
Beginner to Endgame Walkthroughs
| Stage | Focus | Difficulty |
|---|---|---|
| Days 1-3 | Clear Earth, craft the Copper Drill | Beginner |
| Days 4-10 | Mars + Europa, smelt Iron Alloy | Intermediate |
| Days 11-20 | Volcano, forge Titanium Spire | Advanced |
| Day 21+ | Nebula + first Rebirth | Endgame |
Progression Stages
First Day on Earth
How to clear your first planet, claim the starter drill, and stack 50 Drill Pieces in under an hour. How to clear your first planet, claim the starter drill, and stack 50 Drill Pieces in under an hour. The walkthrough assumes you have just completed the tutorial quest and walks through every step of the Earth grind. By the end you will own the Copper Drill and have enough Drill Pieces banked to start the Mars grind the next day.
Mars + Europa Mid-Game
Iron Alloy and Crystal farming loops, recommended drill swaps, and how to clear Europa's ice caverns. Iron Alloy and Crystal farming loops, recommended drill swaps, and how to clear Europa's ice caverns. The guide covers smelter batch sizes, repair kit management, and the optimal order to swap between drills as you push from Mars into Europa. Most players complete this stage in 2-3 hours of focused grinding per smelt batch.
Volcano Push
Clearing the lava boss arena, surviving Magma Piercer routes, and forging your first Titanium Spire. Clearing the lava boss arena, surviving Magma Piercer routes, and forging your first Titanium Spire. The guide assumes you have completed the Europa mid-game and are ready to push into Volcano. Plan for 4-6 hours per run, including smelt batches and the lava boss fight, and you will walk away with the Titanium Spire and Magma Piercer.
First Rebirth
Prestige point allocation, reforge timing, and how to keep your best drill across the reset. Prestige point allocation, reforge timing, and how to keep your best drill across the reset. The guide walks through the first Rebirth from level 25 to the Prestige Shop unlock, including the exact prestige point allocation for Ore Multiplier and Smelter Queue. Reforge before clicking Rebirth, and you will keep your strongest Legendary drill across the reset.
Core Mechanics
Guides are organized by progression stage rather than by feature. Each guide solves one bottleneck at a time and assumes you have completed the previous stage. Use the start-here flow on the home page to pick the next guide in your progression. Every guide ends with a Recommended Next Steps block that links to the following stage. Guides are written by wiki editors and cross-checked against patch notes within 48 hours of any major update. Each guide assumes a single progression stage and lists the prerequisites at the top so you don't waste time reading a guide before you are ready. The Recommended Next Steps block at the end of every guide links into the next stage, creating a chain from beginner to endgame. Use the start-here flow on the home page to pick the first guide and follow the chain — skipping ahead usually means wasted smelter time on drills that will be replaced within a few days.
Advantages
Guides give you a specific mining order instead of leaving you to figure out the planet progression through trial and error. They also surface hidden chests, smelter batch bonuses, and reforge costs that beginners usually miss. Following the recommended drill sequence prevents the most common mistake — grinding a high-tier planet with a low-tier drill and getting stuck on respawn timers. Guides give you a specific mining order instead of leaving you to figure out the planet progression through trial and error. They also surface hidden chests, smelter batch bonuses, and reforge costs that beginners usually miss. Following the recommended drill sequence prevents the most common mistake — grinding a high-tier planet with a low-tier drill and getting stuck on respawn timers. The Recommended Next Steps block at the end of every guide removes the planning overhead so you can focus on the actual mining.
Challenges
Guides can become outdated after a major patch — the balance changes from UPDATE1 in particular shifted several drill damage formulas, so older guides may reference numbers that no longer apply. Guides also assume a single-player grind; private server cooldowns and event-specific drop rate boosts are not always reflected in the recommended timings. Guides can become outdated after a major patch — the balance changes from UPDATE1 in particular shifted several drill damage formulas, so older guides may reference numbers that no longer apply. Guides also assume a single-player grind; private server cooldowns and event-specific drop rate boosts are not always reflected in the recommended timings. Cross-check with the latest tier list before committing to a long grinding plan based on a guide's recommendations.
Frequently Asked Questions
Where should I start as a brand new miner?+
When can I move from Earth to Mars?+
What is the best mid-game planet order?+
Quick Tips
Always check the wiki before grinding a new planet — the recommended drill tier is the single biggest factor in how fast you can clear a biome. The recommended drill tier is the single biggest factor in how fast you can clear a biome — grinding a high-tier planet with a low-tier drill costs more in repair kits than you save in Drill Pieces. The wiki tier list is re-verified within 48 hours of every major balance patch, so the numbers should be current. Cross-check before committing to a long grinding session.
Smelt in batches of 50 for the bulk output bonus; partial batches waste the smelter queue timer and produce less alloy per ore. The bulk output bonus is worth an extra 10% alloy yield on top of the base conversion. Partial batches waste the smelter queue timer and produce less alloy per ore, so always wait for a full batch of 50 when you have the inventory space. This single tip saves hours per week of farming across Iron, Titanium, and Mythril batches.
Save your Rebirth for after you have reforged at least one Rare drill — without a reforged drill, your strongest gear resets to Common. Without a reforged drill, your strongest gear resets to Common after the prestige wipe. Stockpile 5 Mythril Bar ahead of time so the reforge cost is covered the moment you reach level 25. The reforge is done at the Crafting Bench and preserves one drill of your choice across the reset. Always reforge your strongest Legendary drill rather than a mid-tier pick.
Featured
Mine a Planet Beginner Guide: First Day to First Rebirth
Complete Mine a Planet beginner guide covering your first day, first smelt, first craft, and the fastest path to your first rebirth in the Roblox mining sim.
Mine a Planet Smelter Optimization: Bulk Bonus Tips
Master the Mine a Planet smelter with 50-stack bulk bonuses, queue priority, alloy ratios, and end-game smelt optimization for faster Drill Pieces.
Mine a Planet Reforge Strategy: Best Stats and When to Roll
Complete Mine a Planet reforge strategy covering stat priority, reroll cost, drill tier breakpoints, and the best legendary drills to reforge across rebirths.
All Articles

Mine a Planet Rebirth Timing Guide: Reset for Max Prestige
Master Mine a Planet rebirth timing with prestige point math, optimal first rebirth, second rebirth unlock, and the reforge cycle that maximizes your Prestige Points.

Mine a Planet Best Planet Order: Optimal Progression Path
Optimal Mine a Planet planet order for progression: when to leave Earth, when to grind Mars, and the fastest route from tutorial to Void planet.

Mine a Planet Codes: How to Redeem, Active List & Help
Step-by-step Mine a Planet codes redemption guide with active code list, board location, cooldown rules, expired code archive, and troubleshooting for codes not working.
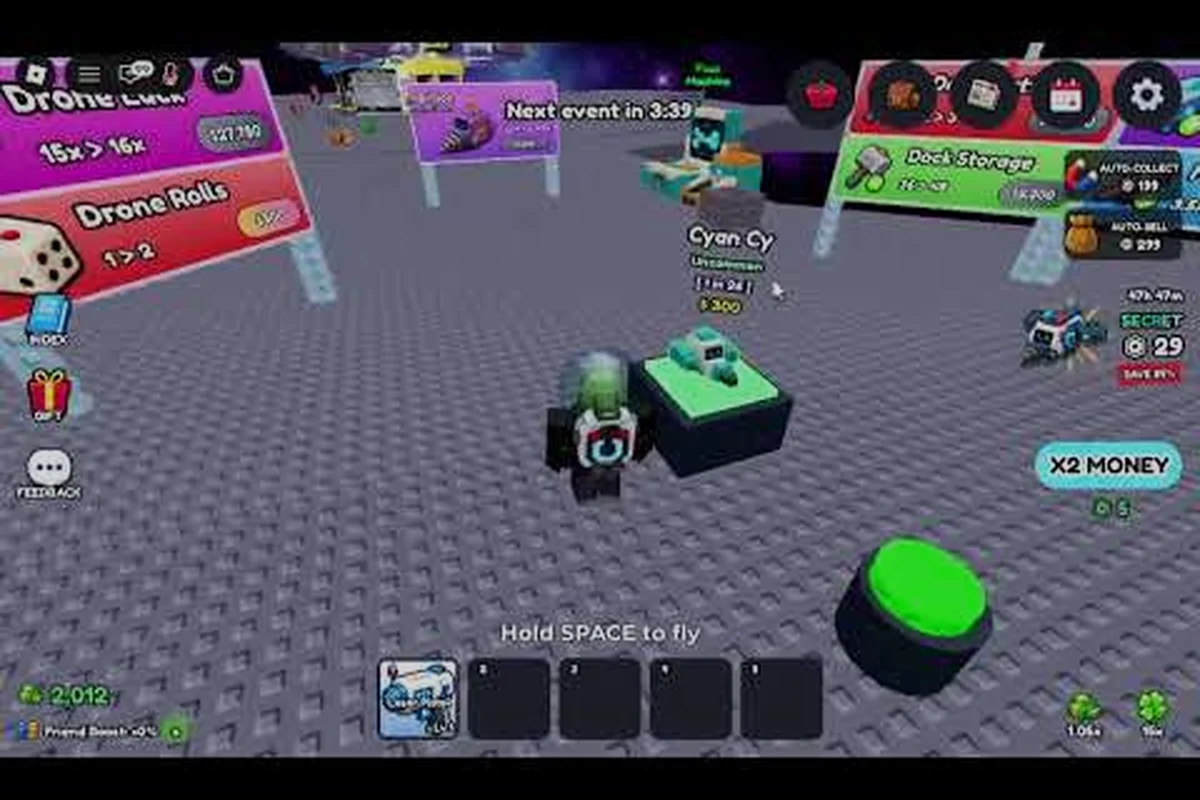
Mine a Planet Fast Drill Piece Farming: Routes & Pets
Best Mine a Planet Drill Piece farming routes with optimal pet combos, smelter queues, reforge priority, and speedrun tips for grinding currency fast.

Mine a Planet Crafting Tier Progression: From Wood to Astral
Mine a Planet crafting tier progression guide covering every drill from Wooden Pickaxe to Astral Annihilator, with material costs, unlock levels, and optimization tips.

Mine a Planet Private Server Guide: Setup & Best Uses
How to set up a Mine a Planet private server, monthly Robux cost, best use cases for solo farming, and trade/auction hosting tips for clans.

Mine a Planet Trade Guide: Auctions & Avoiding Scams
Complete Mine a Planet trade guide with value charts, auction hosting tips, scam avoidance, and the best places to find Mythril and Cosmic-tier trading partners.